Bringing convenience and efficiency to your kitchen, installing a garbage disposal might seem like a complex task, but with the right guidance, it becomes an achievable DIY project. A garbage disposal not only reduces kitchen waste but also aligns with environmentally conscious practices. In this guide, our team at NuvoH2O will walk you through five quick steps to successfully install a garbage disposal, and we'll explore how the longevity of this essential kitchen appliance can be enhanced with the assistance of salt-free water softeners. Learn more and reach out to us today to find your home water softener!
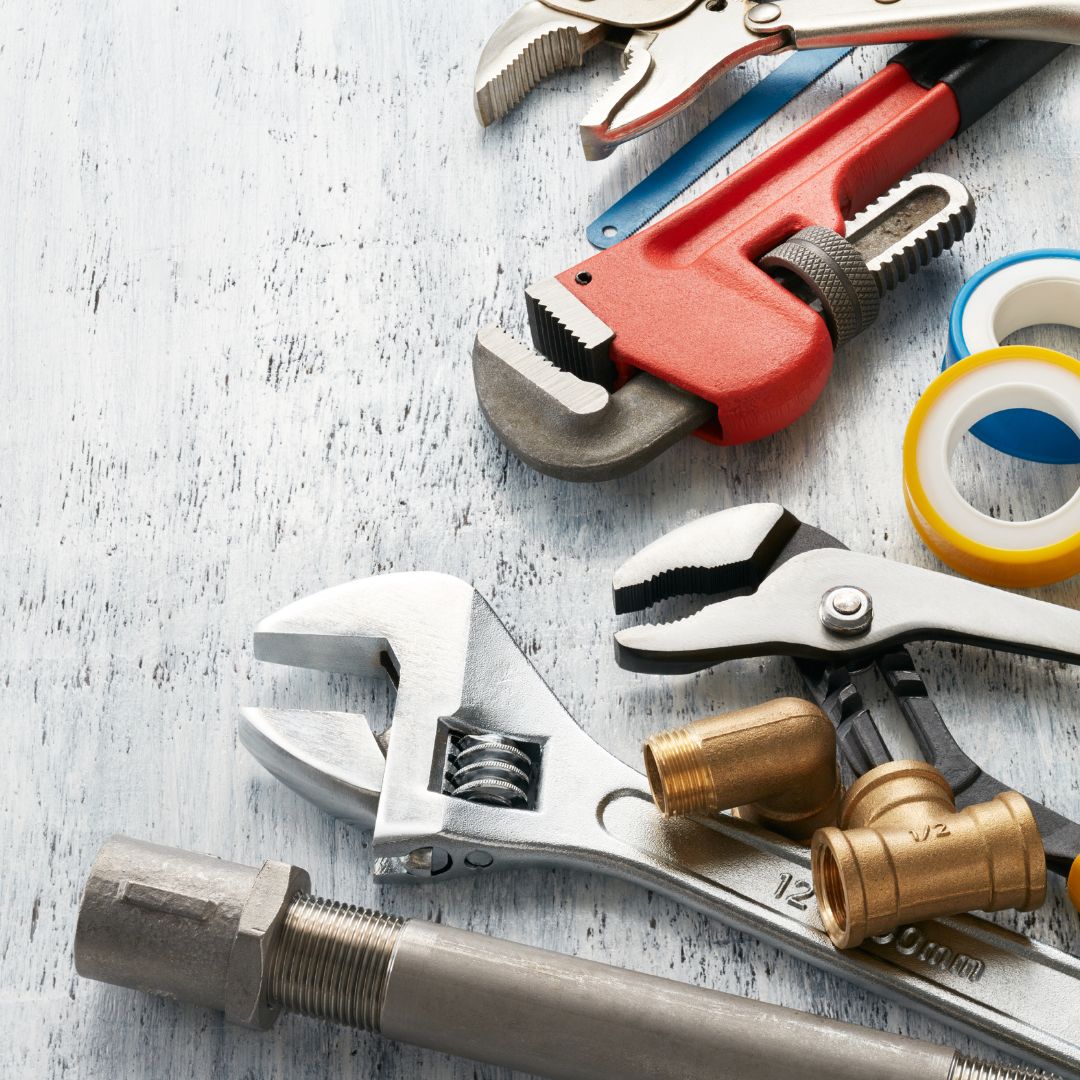
Gather Your Tools and Materials
Begin by assembling the necessary tools and materials. A screwdriver, pliers, plumber's putty, a wrench, and, of course, the garbage disposal unit are among the key items you'll need. Ensure the power to the disposal area is turned off at the circuit breaker for safety. Ensuring you have the right tools is crucial for the successful installation of a garbage disposal, and helps you save time.
Remove the Old Unit (If Applicable)
For those replacing an existing garbage disposal, the process starts with disconnecting the old unit. Turn off the water supply and disconnect the drain pipe and electrical connections. Loosen the mounting ring using pliers and proceed to remove the old disposal unit.
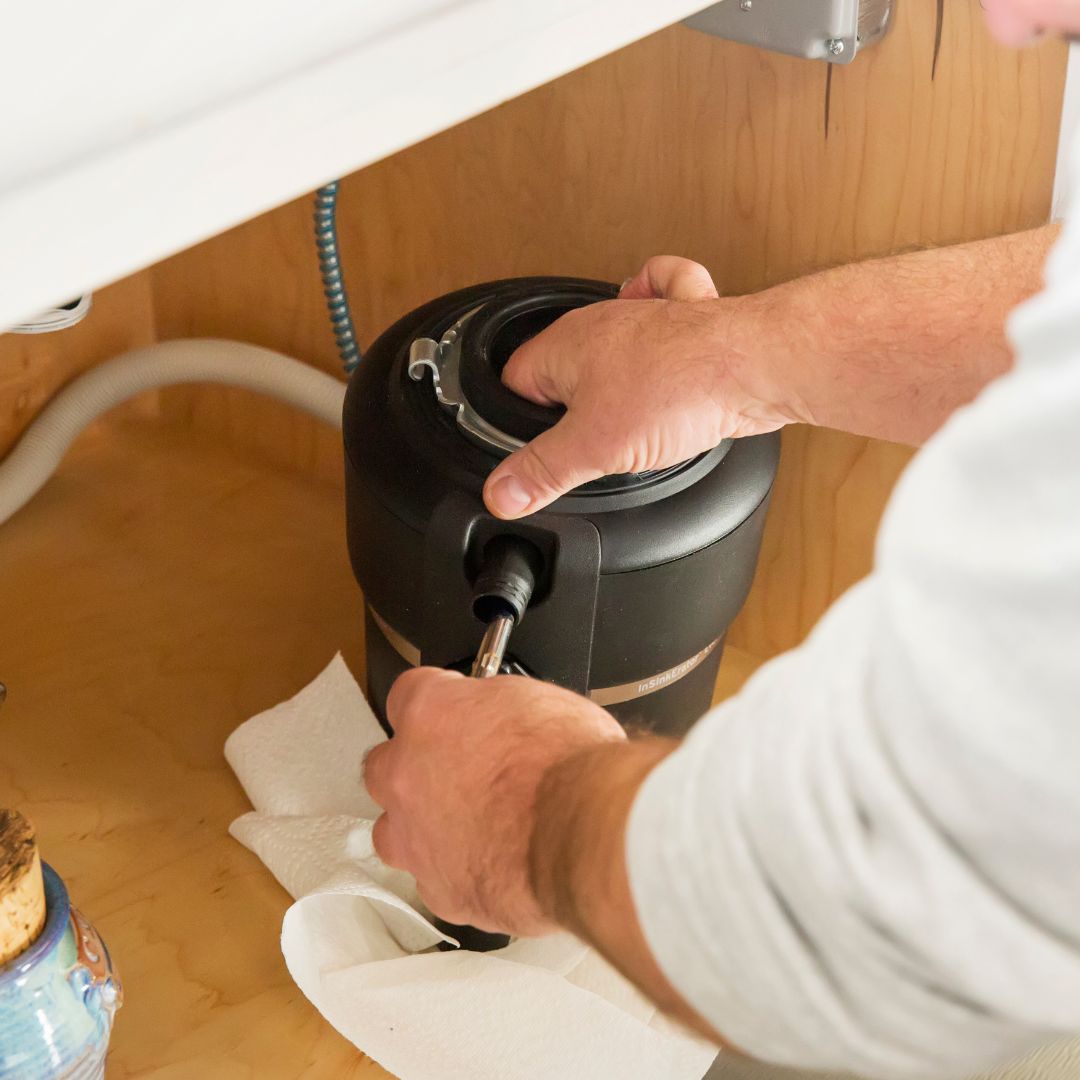
Install the New Unit
Attaching the mounting bracket to the sink flange using screws and a screwdriver marks the beginning of the installation process. With the bracket in place, secure the disposal unit onto it using the twist-on method specified by the manufacturer. Next, connect the discharge pipe to the disposal unit, tightening it securely with a wrench. Application of plumber's putty around the sink flange ensures leak prevention.
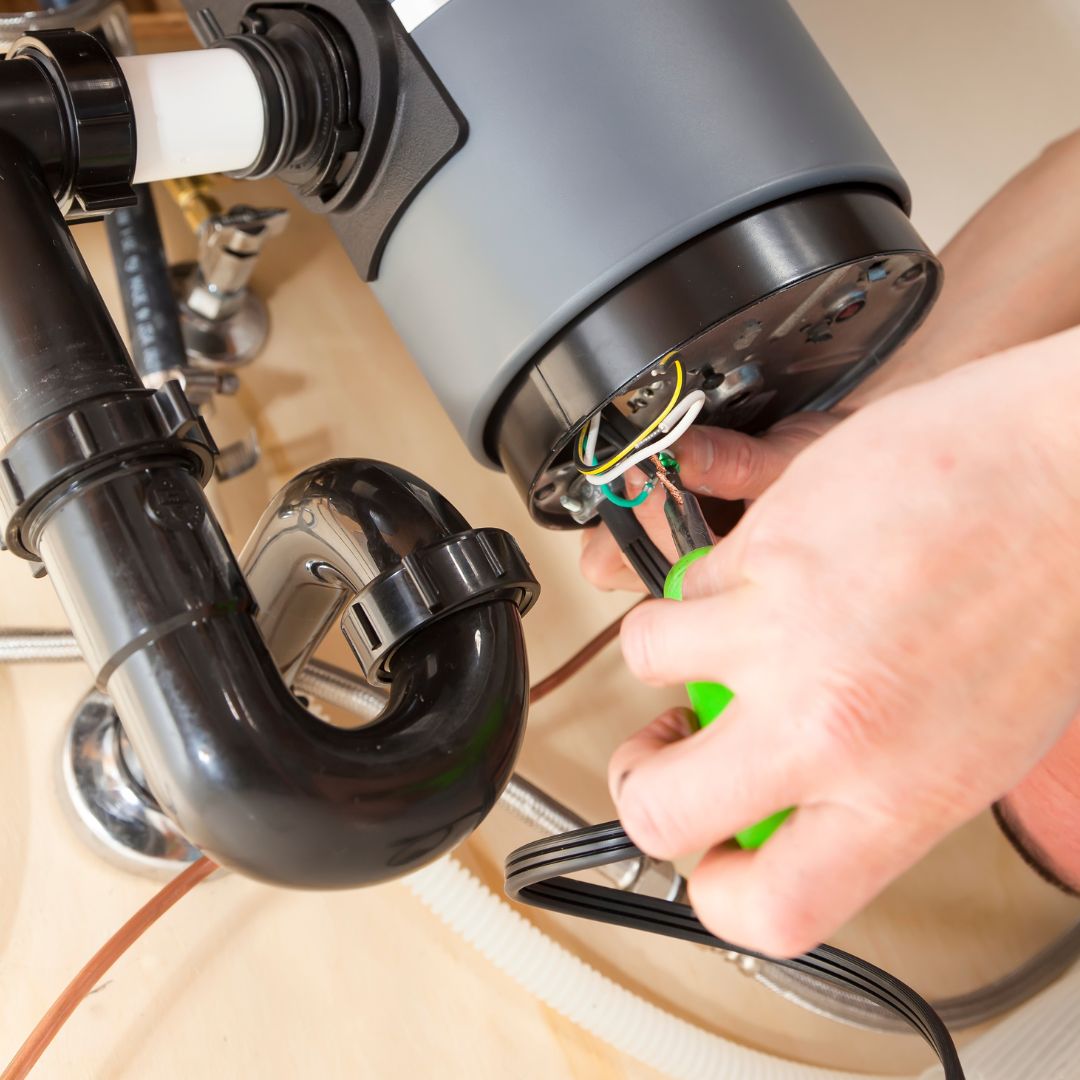
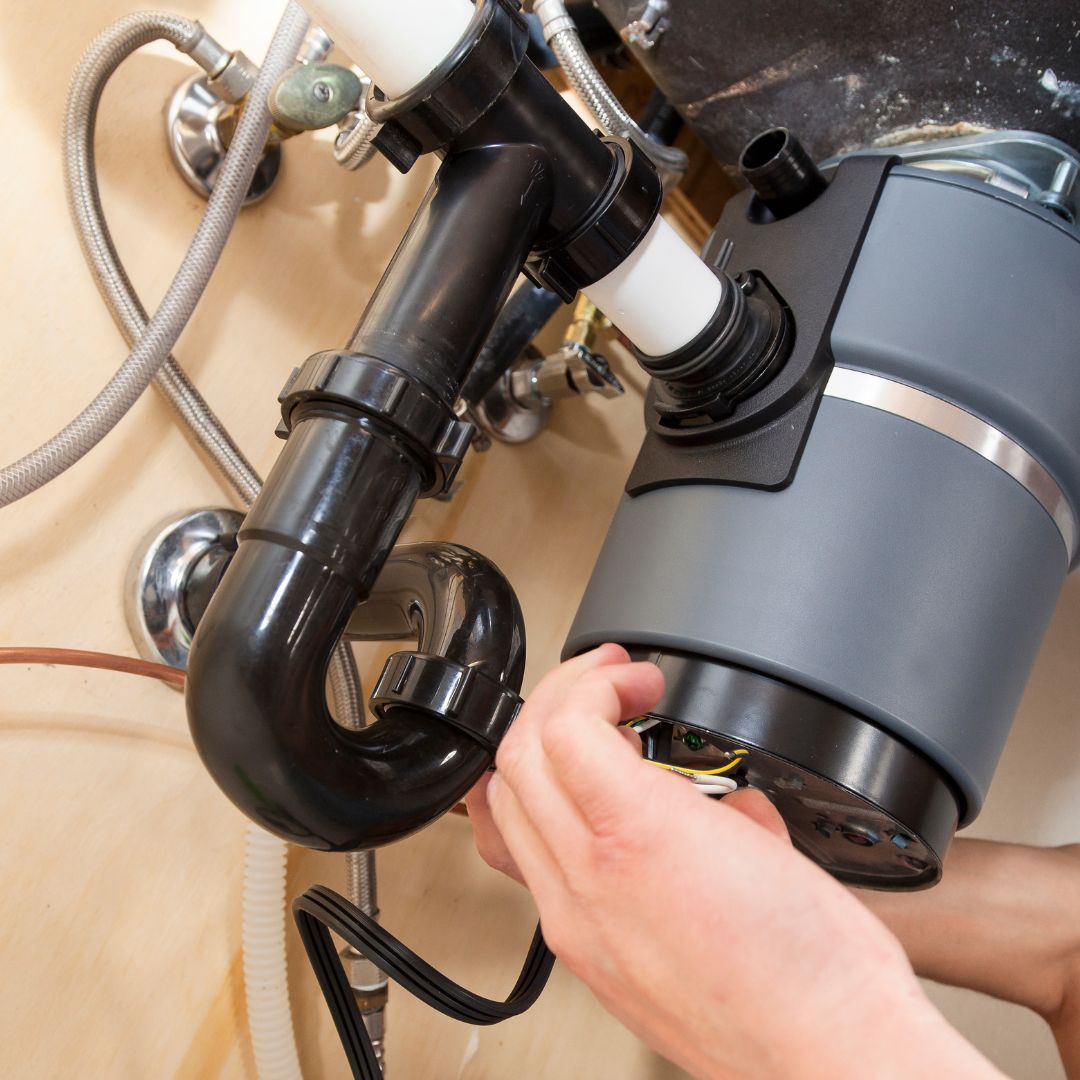
Connect Electrical Wiring and Test
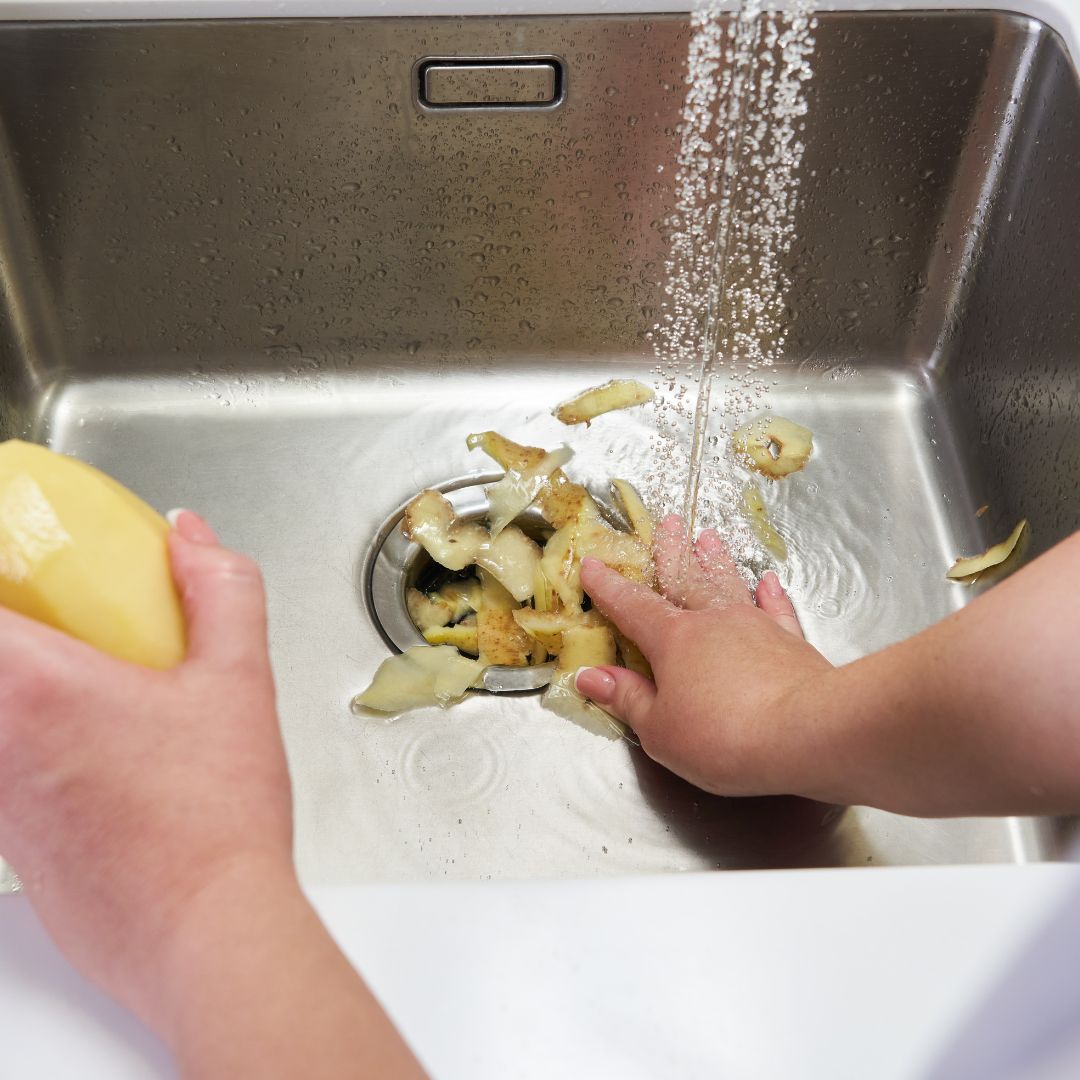
Following the manufacturer's instructions, proceed to connect the electrical wiring. This typically involves using wire nuts to join the colored wires. Once connected, tuck the wires safely into the electrical box and secure the cover. Turn the power on from the circuit breaker and put the disposal to the test by running water and allowing it to grind a small quantity of food waste.
Protect Your Disposal With a Water Softener
The process of installing a garbage disposal may initially appear complex, but by breaking it down into five manageable steps, the task becomes achievable for any DIY enthusiast. Apart from the convenience it brings, a garbage disposal reduces kitchen waste and supports environmentally responsible practices.
If you’re looking for a way to improve the longevity of your garbage disposal and other plumbing fixtures, installing a salt-free water softener from NuvoH2O can be a great way to do so. Water softeners play a pivotal role in removing buildup mineral deposits, keeping your plumbing system and appliances free from harmful scale. This enhances efficiency and reduces maintenance needs. When you’re in need of a whole-home water softener, trust our team at NuvoH2O. We provide comprehensive water softener solutions that not only improve water quality but also contribute to the efficiency and longevity of essential home appliances, fostering a sustainable and well-functioning household. Get in touch with us to find the right salt-free water softener for your home today!